One way to reduce glare without a filter
This tutorial covers eliminating glare when photographing artwork using the transform/skew tool in Photoshop. The quality and resolution here is small for demonstration, but with a little work you can get good results. Here is an example of a finished product.
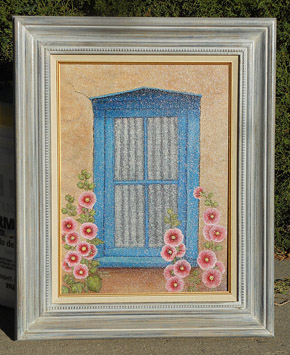 1. When seen head-on in sunlight, speckles of glare appear on this oil on canvas.
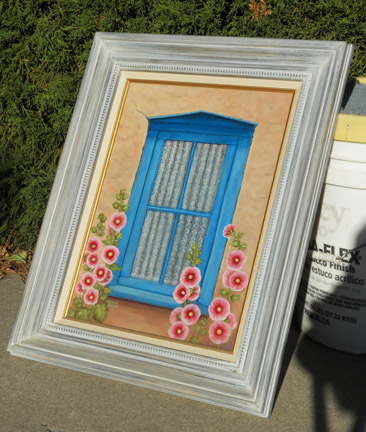 2. When viewed from an oblique angle, the dots of glare disappear. You may have to play around to get a good angle. Try to shoot with a low depth of field (small aperture) to avoid out-of-focus regions on the image. Also being too close to the image can cause bending distortion in the image.
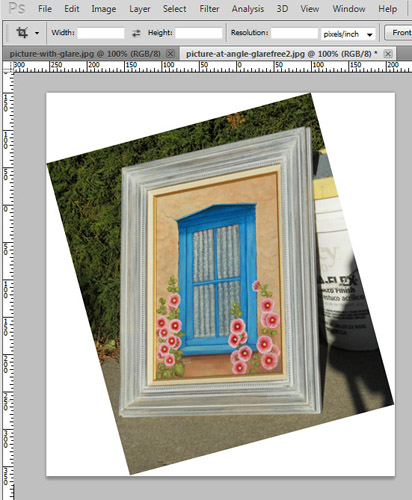 3. As a first step, rotate the image to get at least one of the sides near the horizontal or vertical. (image/image rotation/arbitrary).
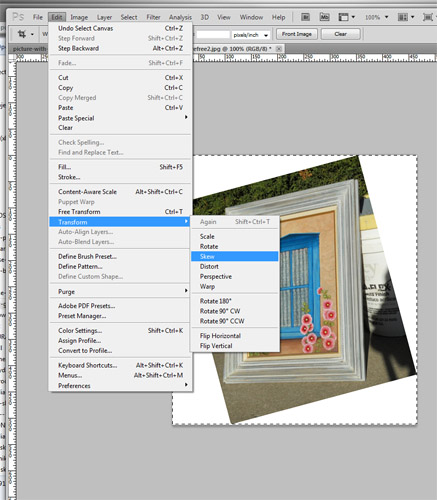 4. Select the whole image and go to Edit/Transform/Skew. You’ll see handles (small squares) appear on the image.
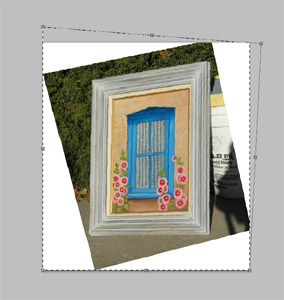 5. Continue progressively dragging the corners and sides…
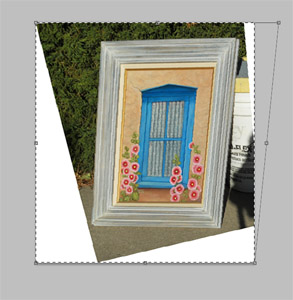 6. …continue skewing. You can see that having sufficient resolution will keep from pixelating if you stretch the image somewhat.
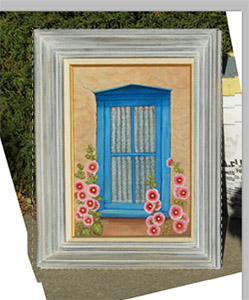 7. When the image is getting close to rectangular, you can drag the rectangular marquee tool (near the top of your toolbar) to check if the angles are back to 90%. In this case, the lower left needs to be dragged out a little.
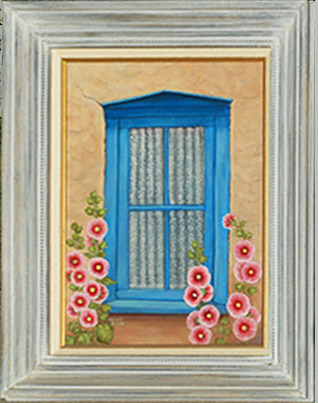 7. When the image is getting close to rectangular, you can drag the rectangular marquee tool (near the top of your toolbar) to check if the angles are back to 90%. In this case, the lower left needs to be dragged out a little.
